


How to Make Perfect Dough with a Kneading Machine: A Step-by-Step Guide and Timings
By arbab
November 22, 2025
Making perfect dough (atta) for rotis, parathas, or naan can be the most strenuous part of cooking. A dedicated kneading machine revolutionizes this process, ensuring consistent texture and saving immense effort. Achieving the ideal, fluffy, and pliable dough requires more than just throwing ingredients in—it requires precision in steps and timing. This step-by-step guide will walk you through the process, guaranteeing bakery-quality results every time.


Phase 1: Preparation and Perfect Ingredient Ratios
Before starting, ensure your ingredients are correctly measured. The key to a good dough is the hydration level (the ratio of water to flour).- For Soft Roti Dough: A good starting ratio is approximately 1 cup of water for every 2.5 to 3 cups of atta (flour).
- Ingredients: Use lukewarm water (never cold), high-quality atta (whole wheat flour is common), and a pinch of salt if desired.
- Order Matters: Always start with the wet ingredients (water) in the kneading bowl first, followed by the dry ingredients (atta/flour). This prevents the dry flour from sticking stubbornly to the bottom.
Step-by-Step Kneading Process
Step 1: Initial Mixing (Low Speed, 1 Minute)
Once the ingredients are in the bowl (water first, then flour, then salt), lock the lid. Start the machine on the lowest speed setting (e.g., Speed 1).- Run the machine for about 60 seconds. This stage simply brings the water and flour together to form a rough, shaggy mass. This prevents dry flour dust from flying everywhere when you increase the speed.
Step 2: The Main Knead (Medium Speed, 8–10 Minutes)
Increase the machine speed to the medium or standard kneading setting (e.g., Speed 2). The duration of this step is critical.- Time: Knead continuously for 8 to 10 minutes. This duration develops the gluten structure, which gives the dough its elasticity and makes the rotis soft.
- Observation: During this time, the dough should pull completely away from the sides of the bowl. If the dough seems too dry and crumbly after 3 minutes, add 1-2 teaspoons of water at a time until the mixture comes together. If it is too sticky, add 1-2 teaspoons of dry flour.
Phase 3: Checking Consistency and Resting
Once the main kneading is complete, turn the machine off immediately. Do not over-knead, as this can make the dough tough.Step 3: Consistency Check
- The dough should feel slightly sticky but easily peel off your finger.
- It should be smooth and uniform in texture, not rough or lumpy.
Step 4: Final Rest (30 Minutes)
Remove the dough from the machine and shape it into a smooth ball. Lightly grease the ball and the resting bowl with a few drops of oil. Cover the bowl tightly with a cling wrap or a damp cloth.- Resting Time: Allow the dough to rest at room temperature for at least 30 minutes. This resting period relaxes the gluten, making the dough much easier to roll out, resulting in softer final products.
Troubleshooting and Maintenance
To rank high, address common user problems related to the machine:- Overloading: Never exceed the maximum recommended capacity (usually around 600g to 800g of dry flour). Overloading can burn out the motor.
- Motor Strain: If the dough is too stiff (too little water), the motor will strain. Always ensure the hydration is adequate to protect the machine.
- Machine Cleaning: The dough attachment should be immediately washed with warm water after use before the remnants dry and harden.
Final Thoughts
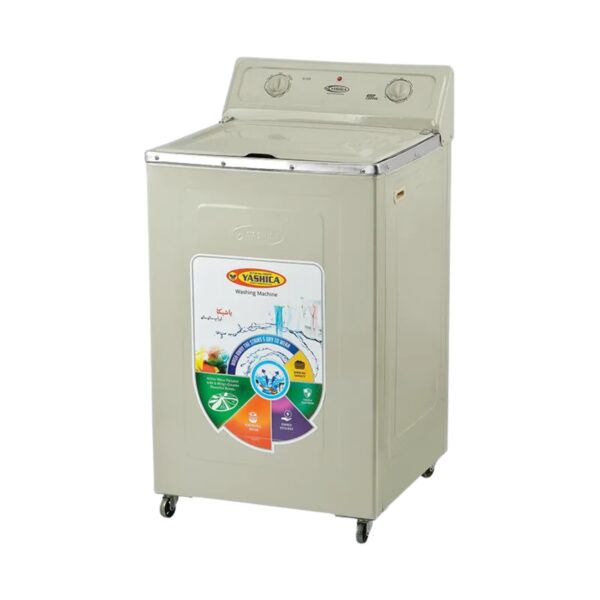
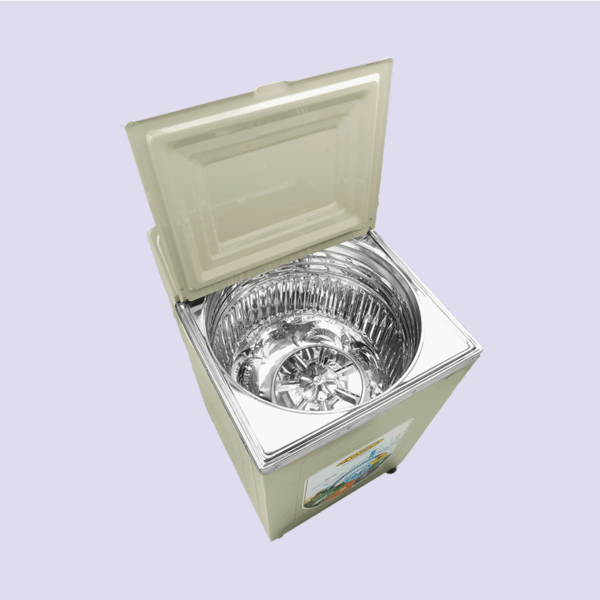
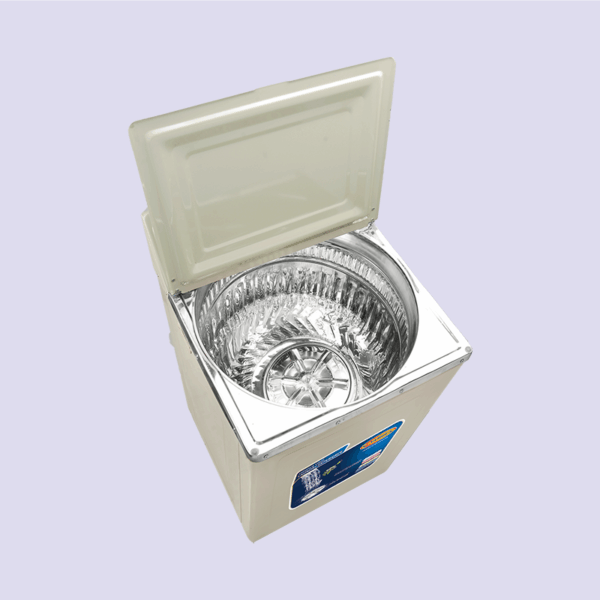
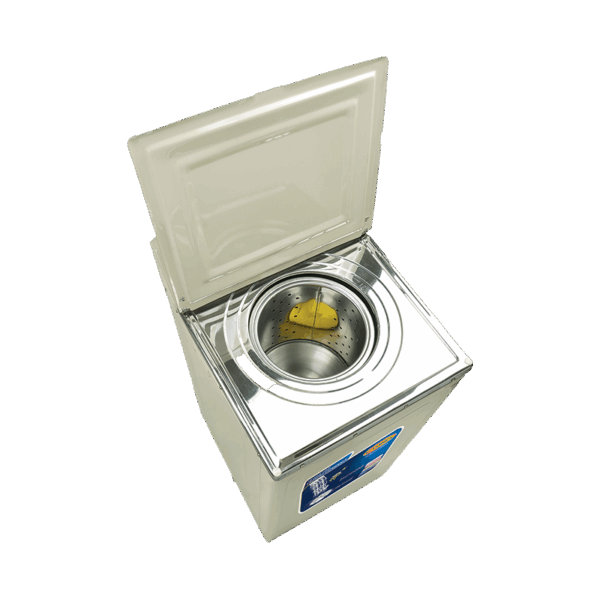
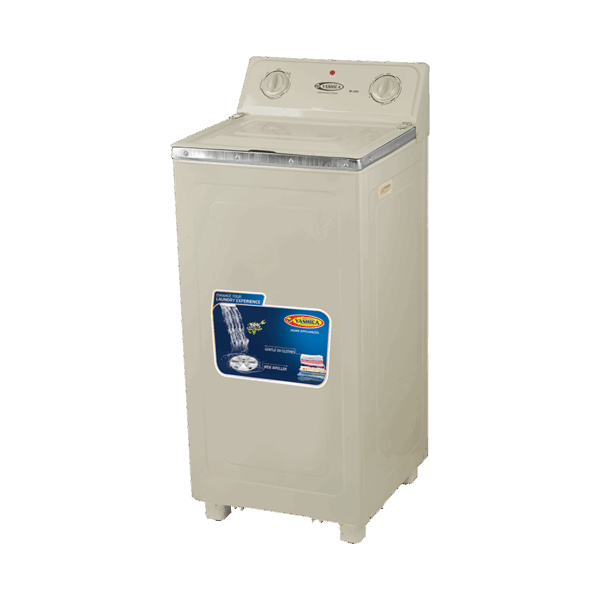
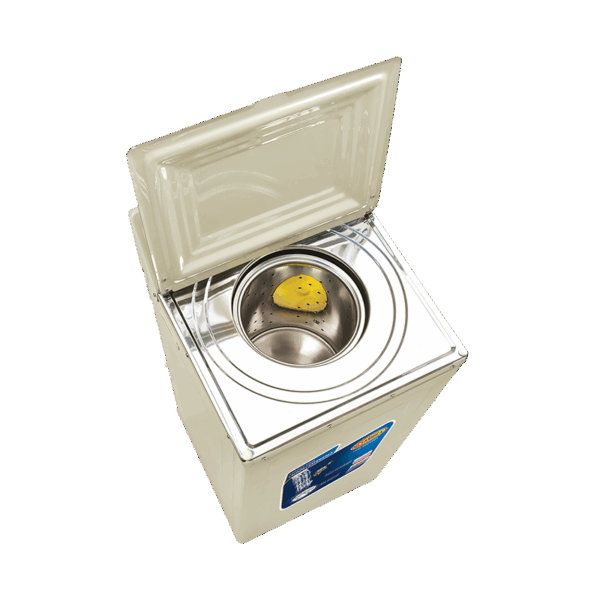
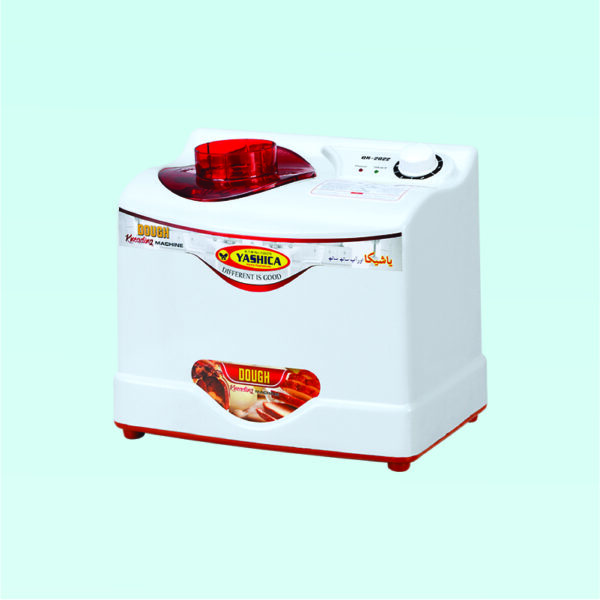
Using a kneading machine correctly transforms the tedious process of dough preparation into a simple, automated task. By adhering strictly to the wet-first rule and the 8–10 minute kneading window, you can ensure your dough is always soft, elastic, and ready for your next perfect meal. Yashica offers powerful and robust kneading machines designed for consistent, heavy-duty dough preparation.To view Yashica’s range of Kneading Machines and Kitchen Appliances, click here: Explore Yashica Kitchen Appliances
