


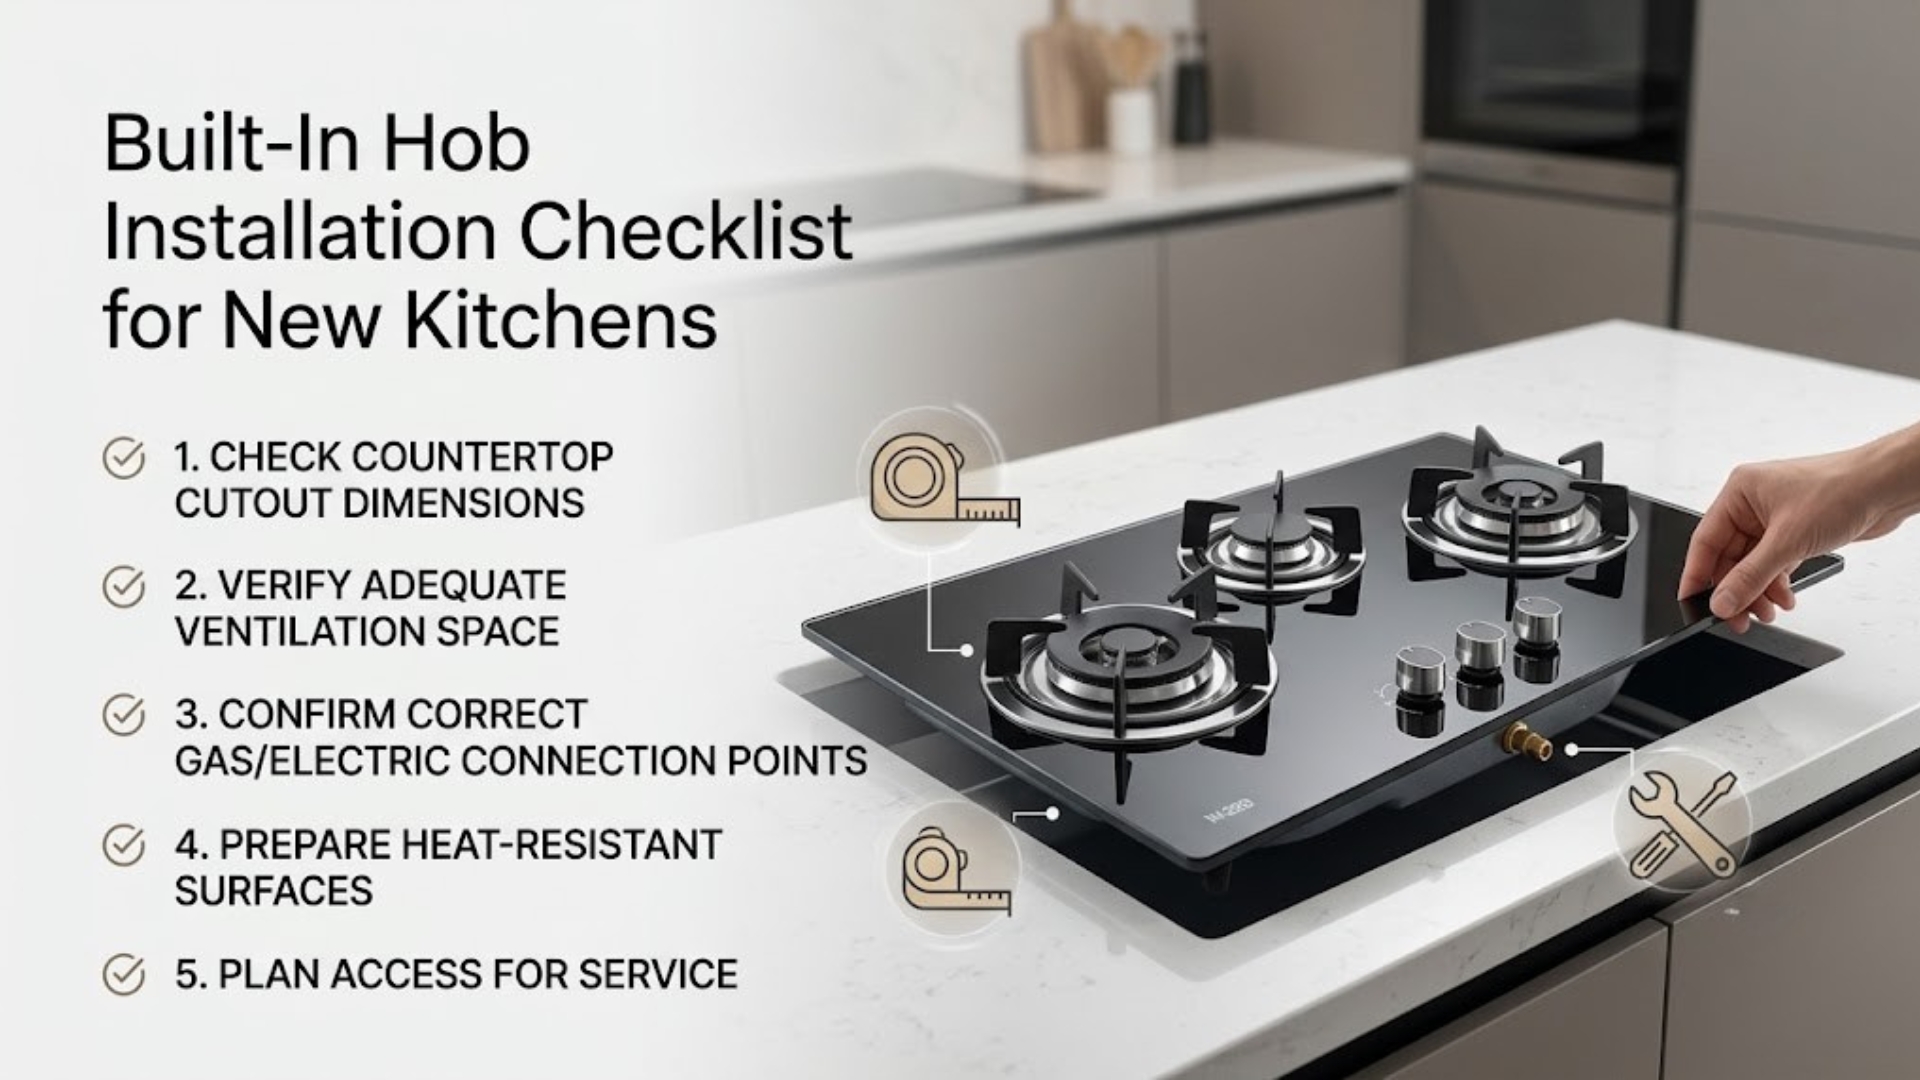
Built-In Hob Installation Checklist for New Kitchens
A built-in hob should be selected before the countertop is cut. Small measurement errors can leave unsupported glass, exposed gaps or insufficient service access. A new kitchen also needs safe gas routing, ventilation, clearance from cabinets and a practical location for the ignition battery.
Yashica’s audited built-in hobs list a case size of about 28 by 16 inches and a base size of about 24 by 13 inches. These figures provide planning context, but the physical template and latest product instructions must be used for the final cutout.
Built-in hob installation checklist
| Stage | Check | Who should confirm it |
|---|---|---|
| Before cabinetry | Model, case size, base size and service clearance | Kitchen designer and appliance seller |
| Before cutting | Physical template and countertop support | Countertop installer |
| Gas connection | Fuel type, regulator, valve, hose or rigid line | Qualified gas technician |
| Ignition | 3V battery access and dry location | Installer and homeowner |
| Final test | Joint test, stable flame and ignition on every burner | Qualified gas technician |
1. Select the exact model first
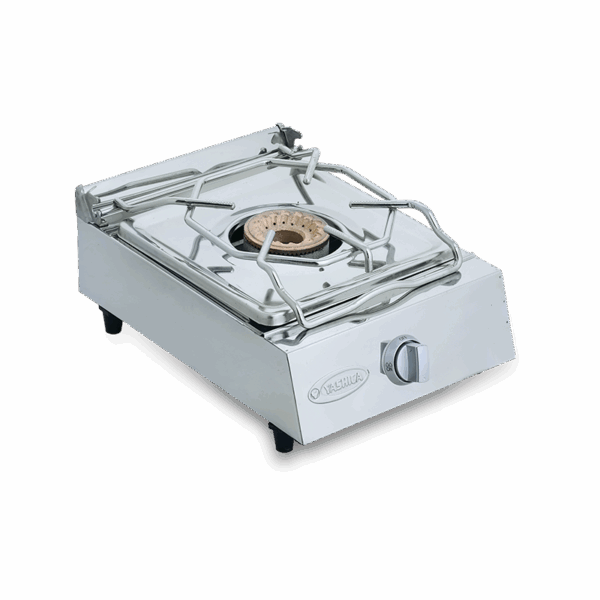
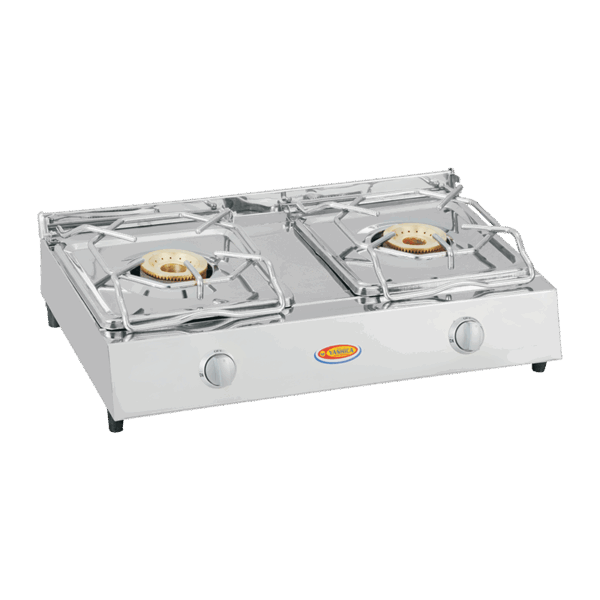
Do not design around a generic “three-burner hob.” The YA-186 and YA-286 have steel tops, while the YA-486 uses 8mm tempered glass. Finish, edge support and cleaning space can affect the countertop design.
2. Verify case and base dimensions
The case is the visible upper size; the base is the section that enters the counter. A listed 28-inch case and 24-inch base do not mean the countertop should automatically be cut to exactly 24 inches. Use the manufacturer’s installation template and required tolerances.
3. Check countertop material and support
Stone, solid surface and laminated wood require different cutting and sealing methods. The opening must not weaken a narrow strip near the counter edge or sink. A glass hob must be supported as intended rather than suspended by its glass edge.
4. Plan clearance around cookware
- Leave room behind the hob for a large tawa or pot handle.
- Keep side clearance from tall cabinets and walls.
- Avoid placing the hob directly beside the sink.
- Keep curtains, spice racks and paper towels away from flame.
- Check hood or exhaust-fan positioning.
5. Provide ventilation below the counter
The cabinet should not become a sealed box around gas fittings. Follow the appliance instructions and local professional guidance for ventilation openings. Do not store cleaning chemicals, plastic bags or flammable items beside the gas connection.
6. Keep the shutoff valve accessible
The user should be able to close the gas supply without removing drawers or the entire hob. A hidden valve is difficult to reach during maintenance or an emergency.
7. Confirm fuel compatibility
Yashica product pages do not state LPG or natural-gas compatibility. Confirm the approved fuel, injector and regulator before installation. Do not convert the appliance through an unapproved local modification.
8. Plan battery access
Yashica built-in hobs list 3V battery-operated auto ignition. The battery compartment should remain accessible, dry and away from heat. A permanently sealed cabinet can make a simple battery change difficult.
9. Arrange professional connection and testing
A qualified gas technician should connect the appliance, test joints, confirm flame quality and check all valves. The test should be completed before drawers are filled and the countertop area is handed over.
Gas safety: If you smell gas, hear an unexplained hiss, see a damaged hose or notice a flame that remains unstable after basic cleaning, turn all burner knobs off, close the gas supply when it is safe to do so, ventilate the area and call a qualified gas technician. Do not operate electrical switches, create a flame or attempt an internal repair in a gas-filled room.
10. Photograph the final installation
Keep photos of the model label, gas valve, hose or pipe route and battery position. Store the invoice, manual and installer details with the kitchen documents.
Common installation mistakes
- Cutting the countertop before the hob arrives
- Using online dimensions without a physical template
- Blocking ventilation with a deep drawer
- Leaving no access to the gas valve
- Placing the battery beside a wet sink cabinet
- Allowing a large pot to touch the backsplash
- Using an appliance configured for the wrong fuel
Review the complete Yashica built-in hob range and use the store locator to inspect the selected model before cabinet work begins.
Frequently asked questions
Can a carpenter install a built-in hob?
A carpenter or stone worker can prepare the supported cutout, but a qualified gas technician should make and test the gas connection.
What cutout size do Yashica hobs need?
Audited pages list a 24 by 13 inch base, but the final cutout must follow the physical template and current instructions.
Do Yashica hobs need electricity?
The audited models list 3V battery-operated auto ignition rather than a mains-electric ignition requirement.
Can a drawer be installed under the hob?
Only when required clearance, ventilation and service access are maintained.
Can I place the hob beside a sink?
Avoid splash exposure and allow safe separation according to the kitchen plan and installation guidance.
Where can I confirm measurements?
Use the product page and contact the Yashica team before cutting.
Conclusion
Finalise the model, physical template, ventilation, fuel type, shutoff access and installer before cutting the counter. A built-in hob becomes part of the kitchen structure, so careful planning is more valuable than a quick installation.
